
Full recipe schema is added by RankMath Recipe block when this page is converted to a WordPress post.
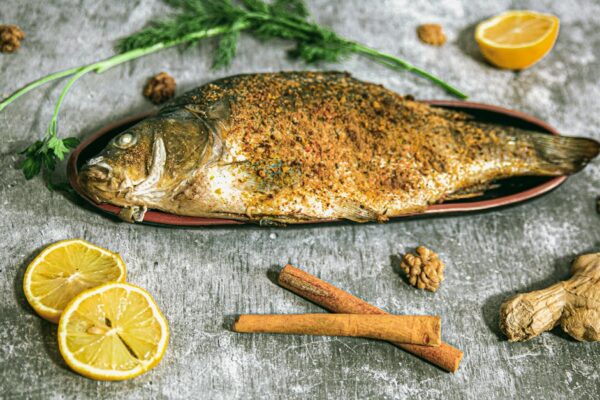
Last updated: March 26, 2026 Salt baking is one of the most dramatic cooking techniques in Asian cuisine.…
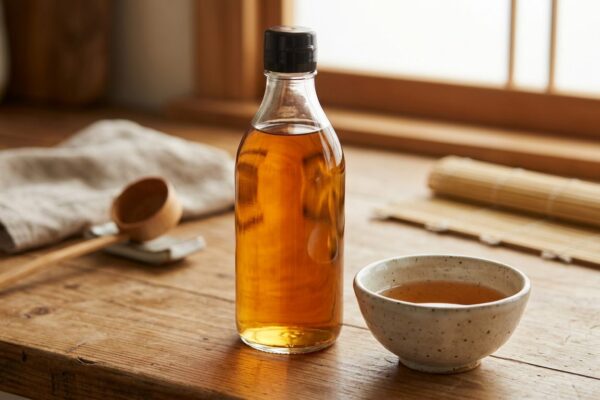
Mirin is the sweet, amber-coloured liquid that gives Japanese dishes their signature shine and subtle depth. It is…
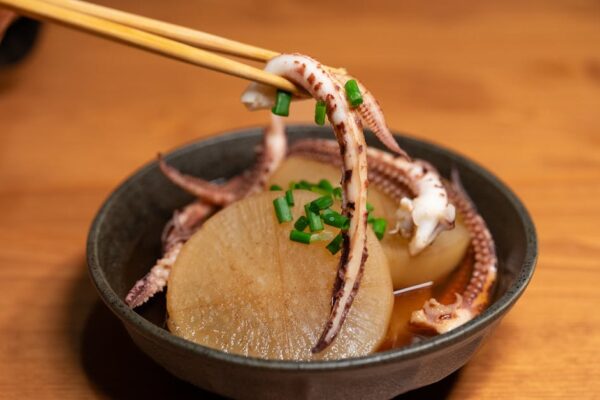
Last updated: March 16, 2026 If you have ever eaten at a Japanese home or a teishoku set-meal…